
How to Make Your Own Cider
- dorsetcountrylife

- Sep 19, 2022
- 3 min read
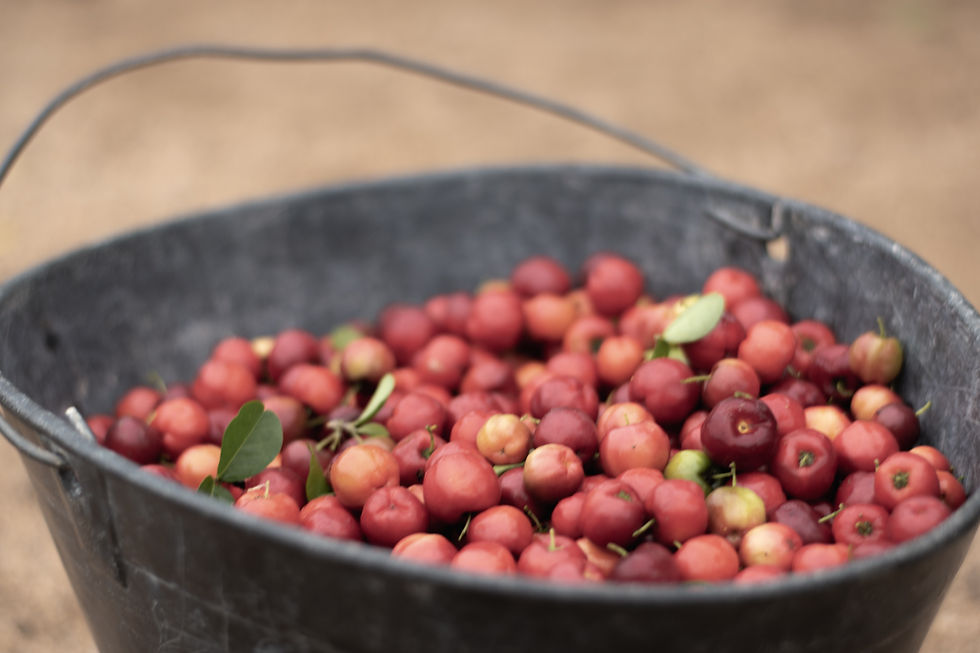
I just love autumn foraging and gathering and one of my most favourite jobs is going to the orchard and collecting apples. We are very fortunate in our village to have a shared orchard and there is a wonderful array of fruit trees. So many different types of apple and that is just what I need for my autumn gathering. I pick cooking apples and freeze them to use for cooking through the winter months, but I also collect the sweet eating apples as I like to make cider.

I leave it as late in the season as possible to collect the cider making apples as then they are as sweet as can be. You can sweeten your cider with sugar but it is not always necessary if the apples are super sweet. So I normally wait until the first week in October to do this job, although I was a little late last year.

Always take a rake,..... yes that's right, a rake! And this is because the best apple will always seem to be at the top of the tree. So you can use a rake to knock them down or hook onto the branches to shake them down. You can also gather fallers from under the tree providing they are not rotting or being eaten by insects. Don't worry if they are a bit muddy as they will be washed before they are pressed.
Once the apples are gathered they are washed and I chop them and put them through my food processor. Skin pips the lot! This is to make sure I get maximum juice. I have a small apple/ fruit press and this ensures that every drop is squeezed out! Any pulp left over is taken to my allotment and spread on the ground to break down over the winter months. So nothing is wasted!

The cider press is lined with a Muslim type bag and as the juice is collected I tip it into my sterilised brewing bucket that also has a muslin bag over it so it's generally pretty clear from the off set.
It takes a while to do this on a small home brew scale so you need to be patient. You will most definitely be rewarded for it. Once all the apple juice is in the bucket, as it’s so sweet I just add some cider yeast, give it a stir and pop the lid on with an air lock to let the fermentation gasses escape. And then pop it somewhere warm and wait.
Don’t worry if fermentation doesn’t start for a couple of days, it may just need a little time to get started. You can crush two Campden tablets between a spoon and put it in the juice on day one, stir it in and wait 24 hours to add yeast. But I like it to be as natural a brew as possible.
The next stage is just watching and waiting, approximately 5 to 14 days and you will hear the gurgle of the water in the air lock as the gas escapes. Once fermentation has stopped or slowed right down, it's time to wrack it off. This means siphoning it into another container or bottles. I use plastic bottles as you must be careful what you use. Wine bottles will explode so only use champagne type bottles or bottles recommended for beers and ciders.

I personally like a bit of fizz in my cider, so once my bottles are sterilized I put a teaspoon of granulated sugar in the bottom of each bottle. This will encourage a second fermentation and you will then have fizzy cider. So siphon the cider into the bottles and put the lids on firmly. Move the bottles up and down in a tipping motion ( not shaking) until the sugar has dissolved then put the bottles in a box somewhere warm for the second fermentation to continue. Keep it out of the light as the light will damage the cider over time. After about three or four days move the bottle to a cooler place so that it can stabilize.
Then it's pretty much chill and my favourite bit, testing time!


Comments